ICF Basement Expansion – Finished!
I left you hanging! I didn’t do it on purpose – life and the holidays happened! Did we make our deadline of moving into the ICF basement expansion???
For a chronological listing of our building projects with ICF (or insulated concrete forms), be sure to look through the ICF Building Index.
I am ending the suspense now – I know you are all wondering if we made our deadline of moving into the ICF basement expansion before Christmas- and, the answer is -drum roll please:
YES, we did – Shouts of Joy, Happy Dance, Smiley Face….!
We Finished Phase 2
In designing our home, John planned three phases. The first phase was the actual basement (or what will eventually be our basement). Phase 2 is the basement expansion which involved putting up new exterior walls on three sides that are 14 ft further out from the existing walls. This is the phase we are finishing up!
Phase 3 will be the upstairs or main living area, bedrooms and kitchen. You can find a chronological listing of each phase at ICF Building Index under the Family tab in the menu bar.
We have chosen ICF or Insulated Concrete Forms for our home because of their high insulation value and they are great for DIY’ers like us! They snap together like super sized legos.
The Process
It seems in any project that the little things take a lot of time. And, that is the way it was with the expansion. We finally finished the walls (we put a Sto product called Free Form on them) and the scary job was next. I say scary because it involved cutting out the existing windows and moving them out to the new exterior walls. The openings that had been windows became doors accessing the new living areas.
Cut the EIFS Away
First, the EIFS (exterior insulation finishing system) top layer around the existing windows was cut away. The windows were then unscrewed and loosened from the wall. Below you can see one of the windows with the EIFS and trim around it removed exposing the screws.
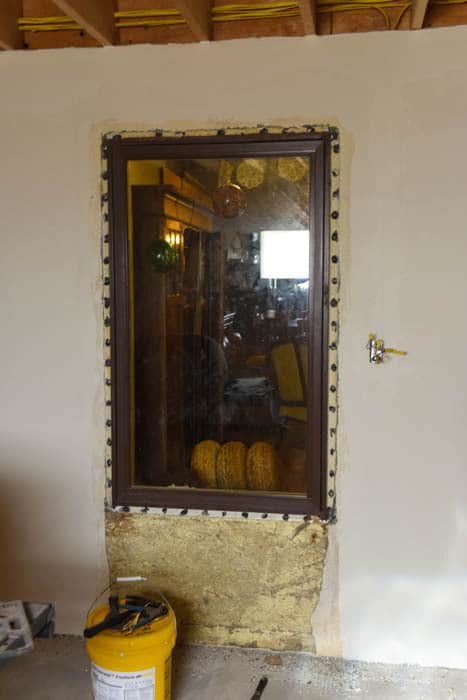
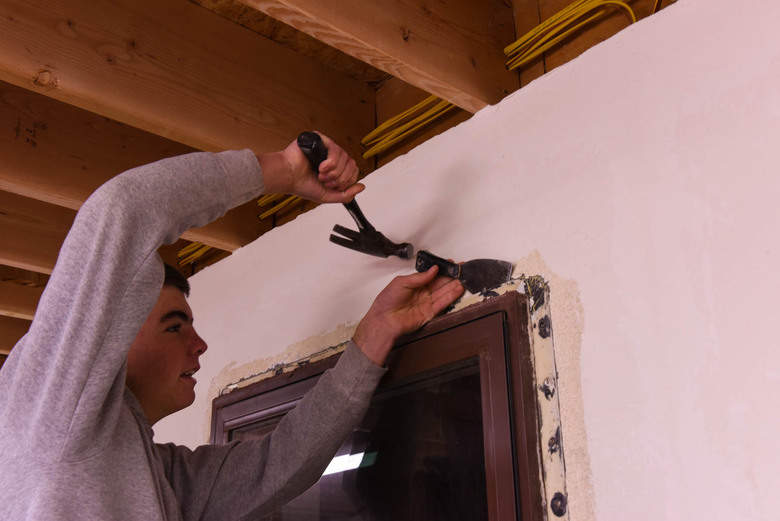
Remove the Screws
Then the screws were removed that held the window in place.
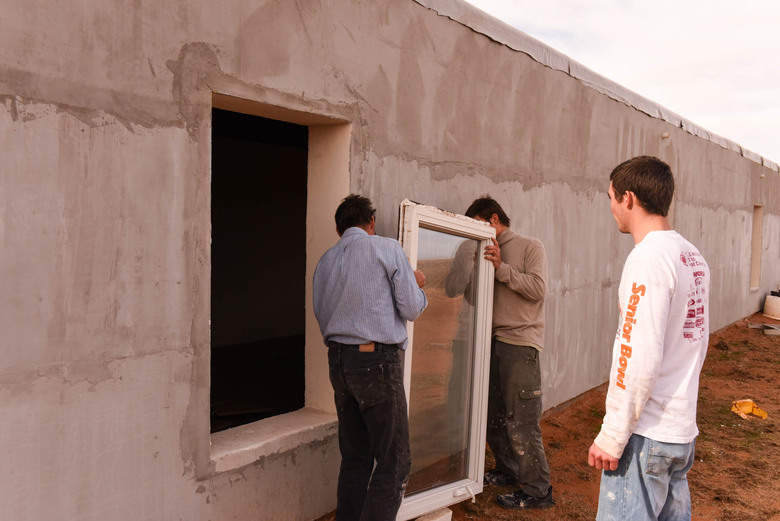
Remove the Window
Very carefully, the window was removed. As you can see, two boys worked together to remove the windows without breaking them – and, they were successful – none broke!
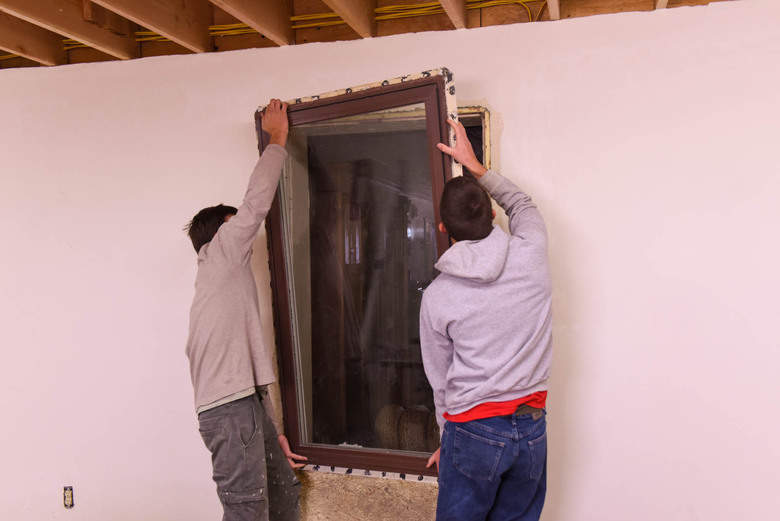
Once removed, the windows were carried out to their new home.
On the outside, we have not applied the final color coat of the EIFS so you see the cement layer (it is cement grey). We have decided to wait until the walls for the upstairs are up and finish the whole house at once. This should make for a more uniform appearance in texture and color.
Place the Window in Its New Setting
The windows were screwed into place and of course admired!
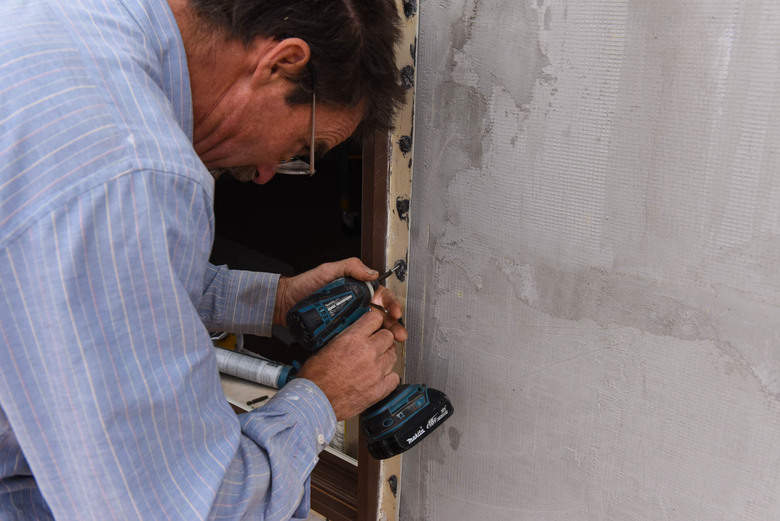
This immediately made the expansion area warmer! Once the windows were moved, the few remaining switch plates and outlet covers were put on. And, we began moving and spreading out. We have almost doubled our living space and it is so nice to have more room!
We decided at this time, not to finish the ceiling because once the upstairs if completed, these rooms will probably not be used for living areas – we can always finish them later!
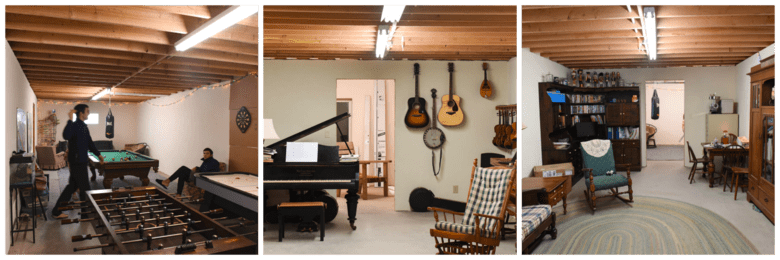
ICF Basement Tour
We have essentially added three large rooms – one on either side and one at the end of the existing basement. I’ll start with the end room which you can see below – the “music” room as we have begun to call it!
The Music Room
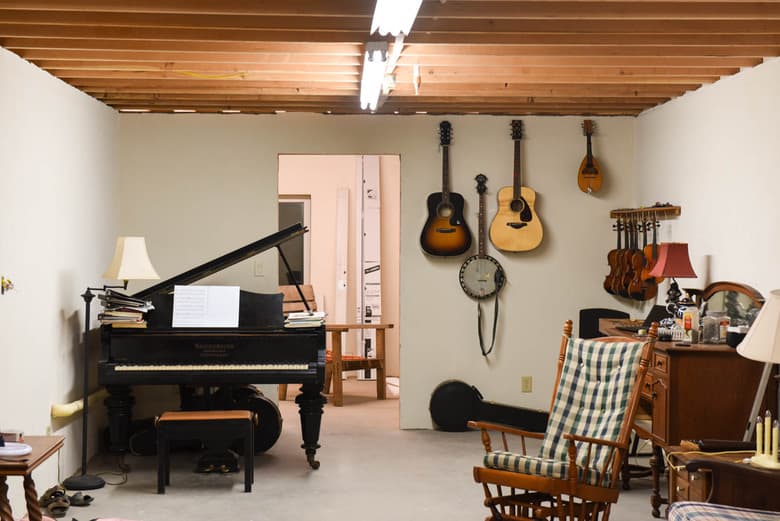
Here is the other end of the music room:
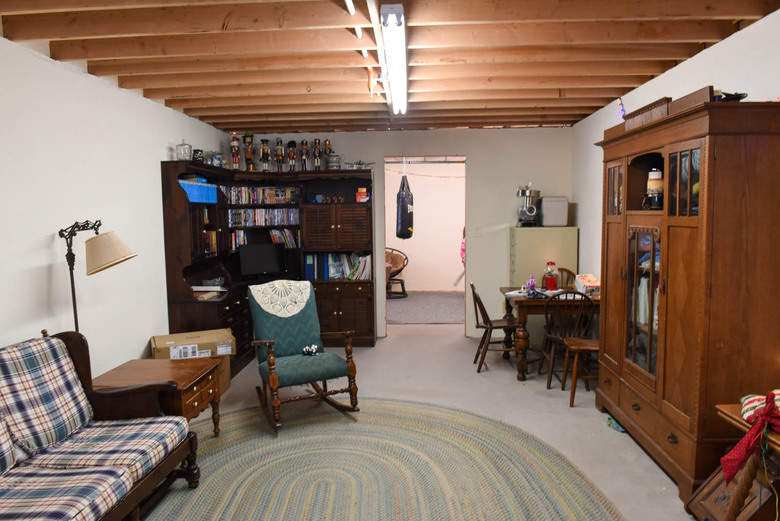
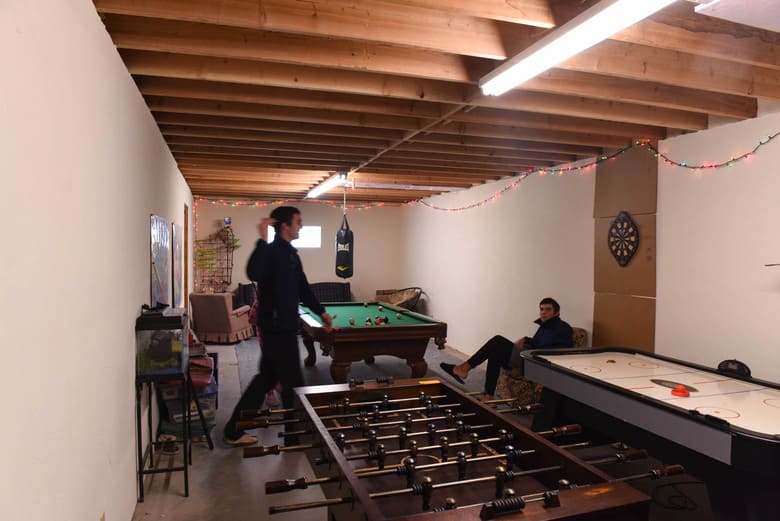
The Game Room
I think the children would say, one of the most exciting parts is the game room which is on one side – below you can see our family Christmas present – a pool table!
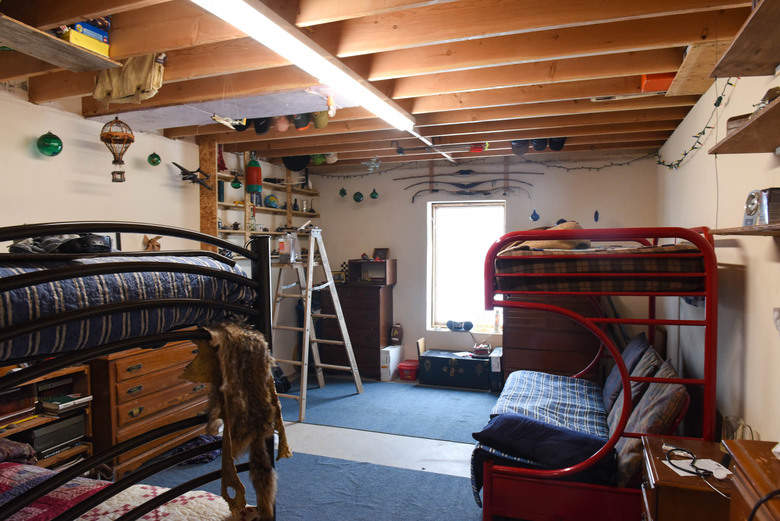
The Boys’ Room
At the other end of the game room is the boys’ room. Boys will be boys and it is a work in progress. They are still adding shelves and arranging!
The Work Room
The other side will hold John’s tools, the freezers and “stuff” from our storage shed. The window in the foreground is where I will be setting up my photography and photographing recipes for Cultured Palate – once it is all cleaned up and organized!
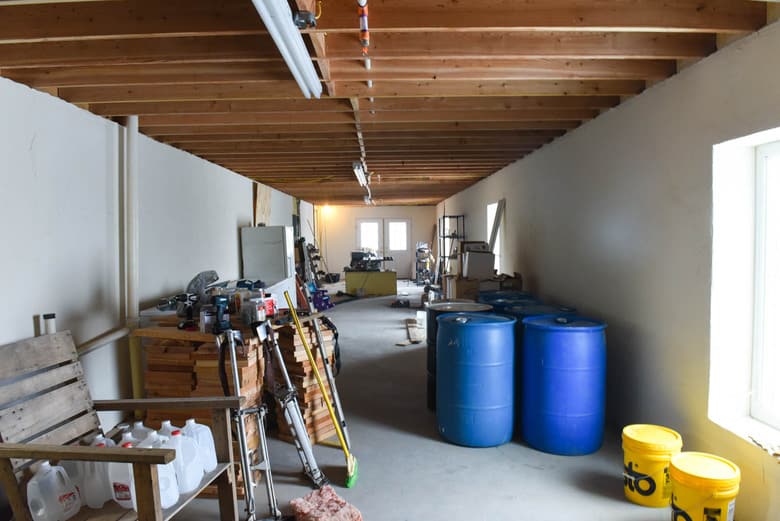
As you can see, we still need to finish the door frames and a few finishing touches but we are definitely enjoying the extra space!
You all are such an encouragement to me and my family. We only dream of what you all are actually doing and have been doing.
You discipline and endurance is amazing. May God continue to Bless you and your family.
Cathy, thank you!
What a wonderful way to teach your children skills that will benefit them their whole lives!
Thanks, Gay, it has been fun and I look forward to finishing the house!
I love seeing your updates! From health living all the way to homebuilding. 🙂
Thanks, Stacy, I appreciate your encouragement!